Setup and loading
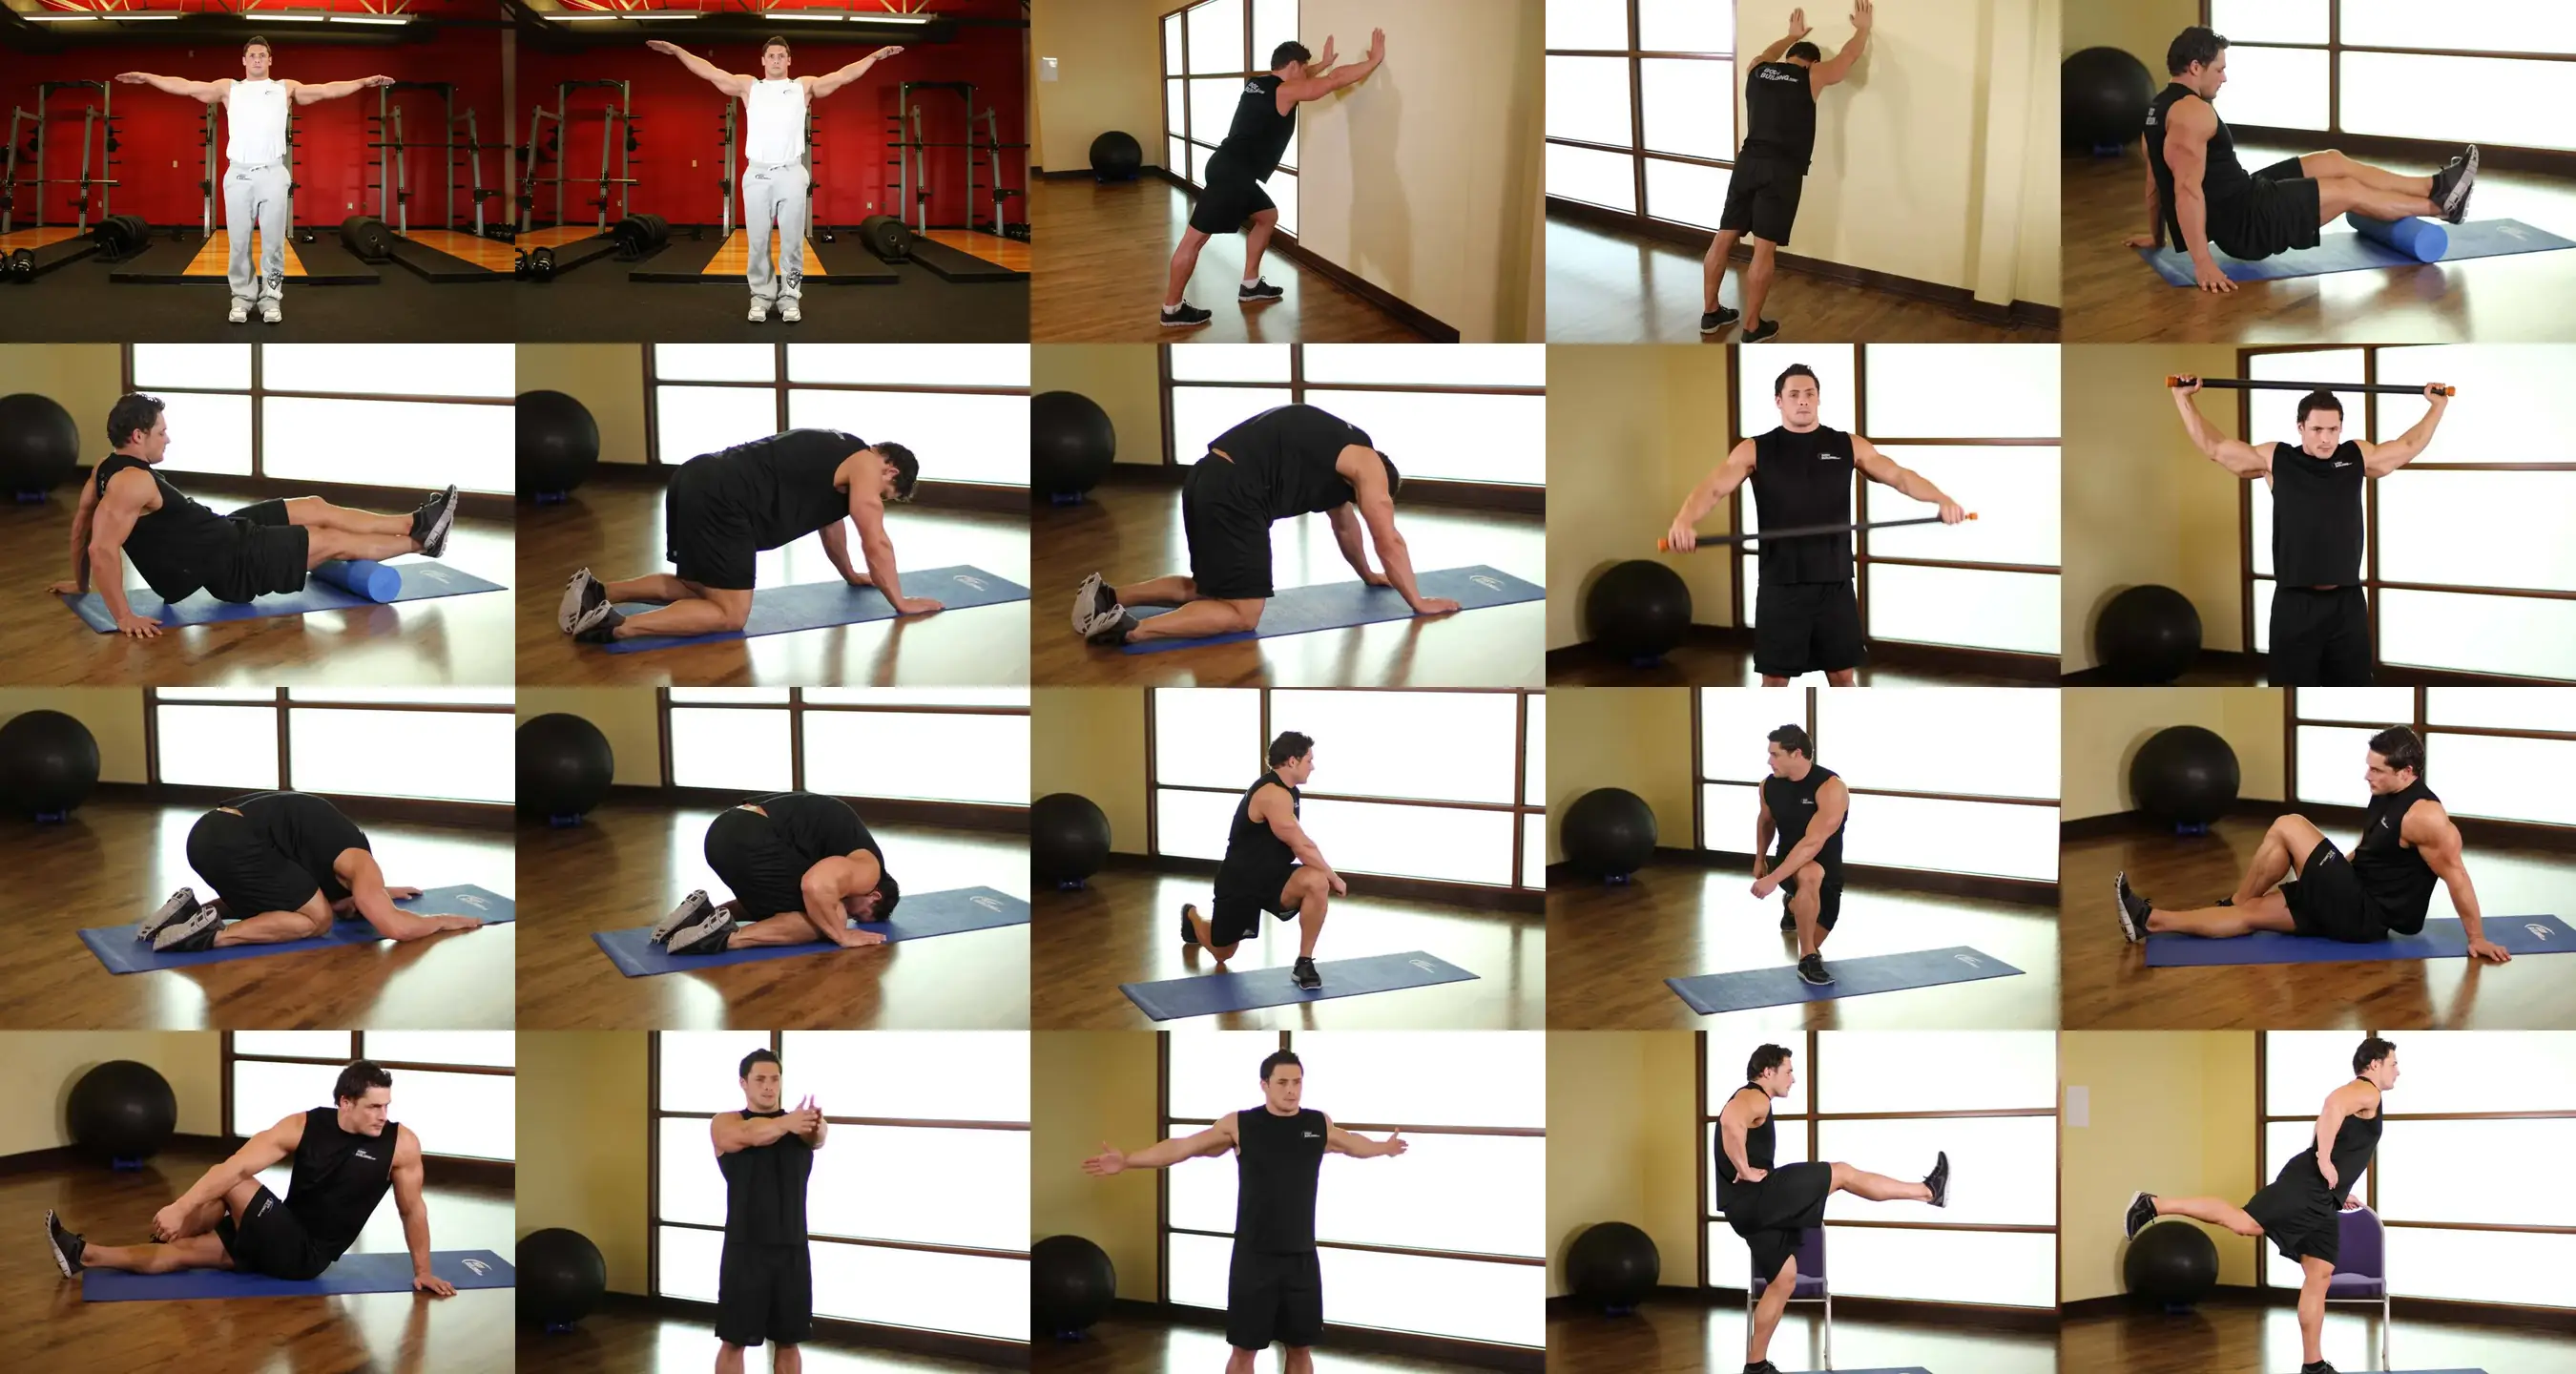
Sit on the floor with the roller under your calves and your hands planted behind your hips. Increase pressure by lifting your hips, stacking one leg on top of the other, or using a firmer or textured roller.
How to do the calf foam roll step by step
- Sit with legs straight, place the roller under your lower calves, and plant your hands behind you.
- Lift your hips off the floor to load your weight onto the roller, keeping shoulders away from your ears.
- Roll slowly from just above the ankle to just below the knee, about an inch per second.
- When you hit a tight spot, pause 20 to 30 seconds and breathe slowly while pointing and flexing your ankle.
- Rotate your leg in and out to cover the inner and outer sides of the calf.
- Spend 60 to 90 seconds per leg, then switch sides.
Form cues
- Roll slow, like slow motion
- Breathe and let the muscle let go
- Pump the ankle on tight spots
- Stack your legs for more pressure
Common mistakes
- Rolling too fast: the muscle never relaxes; cut your speed in half.
- Rolling over the knee or ankle: presses on bone; keep the roller on muscle.
- Holding your breath through discomfort: raises tension; exhale long and take off some weight.
- Grinding one spot for minutes: can irritate tissue; stay under 30 to 60 seconds.
How to make it easier or harder
For a gentler version, keep your hips on the floor or use a soft roller. For more intensity, stack the free leg on top, use a textured roller, or switch to a massage ball for specific soleus spots.
Sets and reps for your goal
Mobility
30-60 s per area2-3 sets of 30-60 seconds or 8-10 slow reps. Daily or before training.
Work in a pain-free range with slow breathing. A little often is better than a lot once in a while.
A guide for healthy adults. Adjust the load to your level and see a professional if you have an injury.
Check your form
Film yourself from the side or ask someone to watch, then tick what you get right.
Frequently asked questions
Should I foam roll my calves before or after running?
Both work. Before a run, 30 to 60 seconds per leg can improve ankle mobility without hurting performance. Afterward it can help your legs feel less heavy. Pair it with an active warm-up rather than using it as a replacement.
Is it normal for calf foam rolling to hurt?
Strong but tolerable discomfort is normal, especially in overworked spots. If the pain is sharp, stabbing, or leaves bruises, lighten the pressure. Avoid rolling over varicose veins, swelling, or a recent calf injury.
Sports it suits
Gear for this exercise
- Foam rollerMedium density to start.
As an Amazon Associate, Muscle Atlas earns from qualifying purchases.
Variations and similar exercises
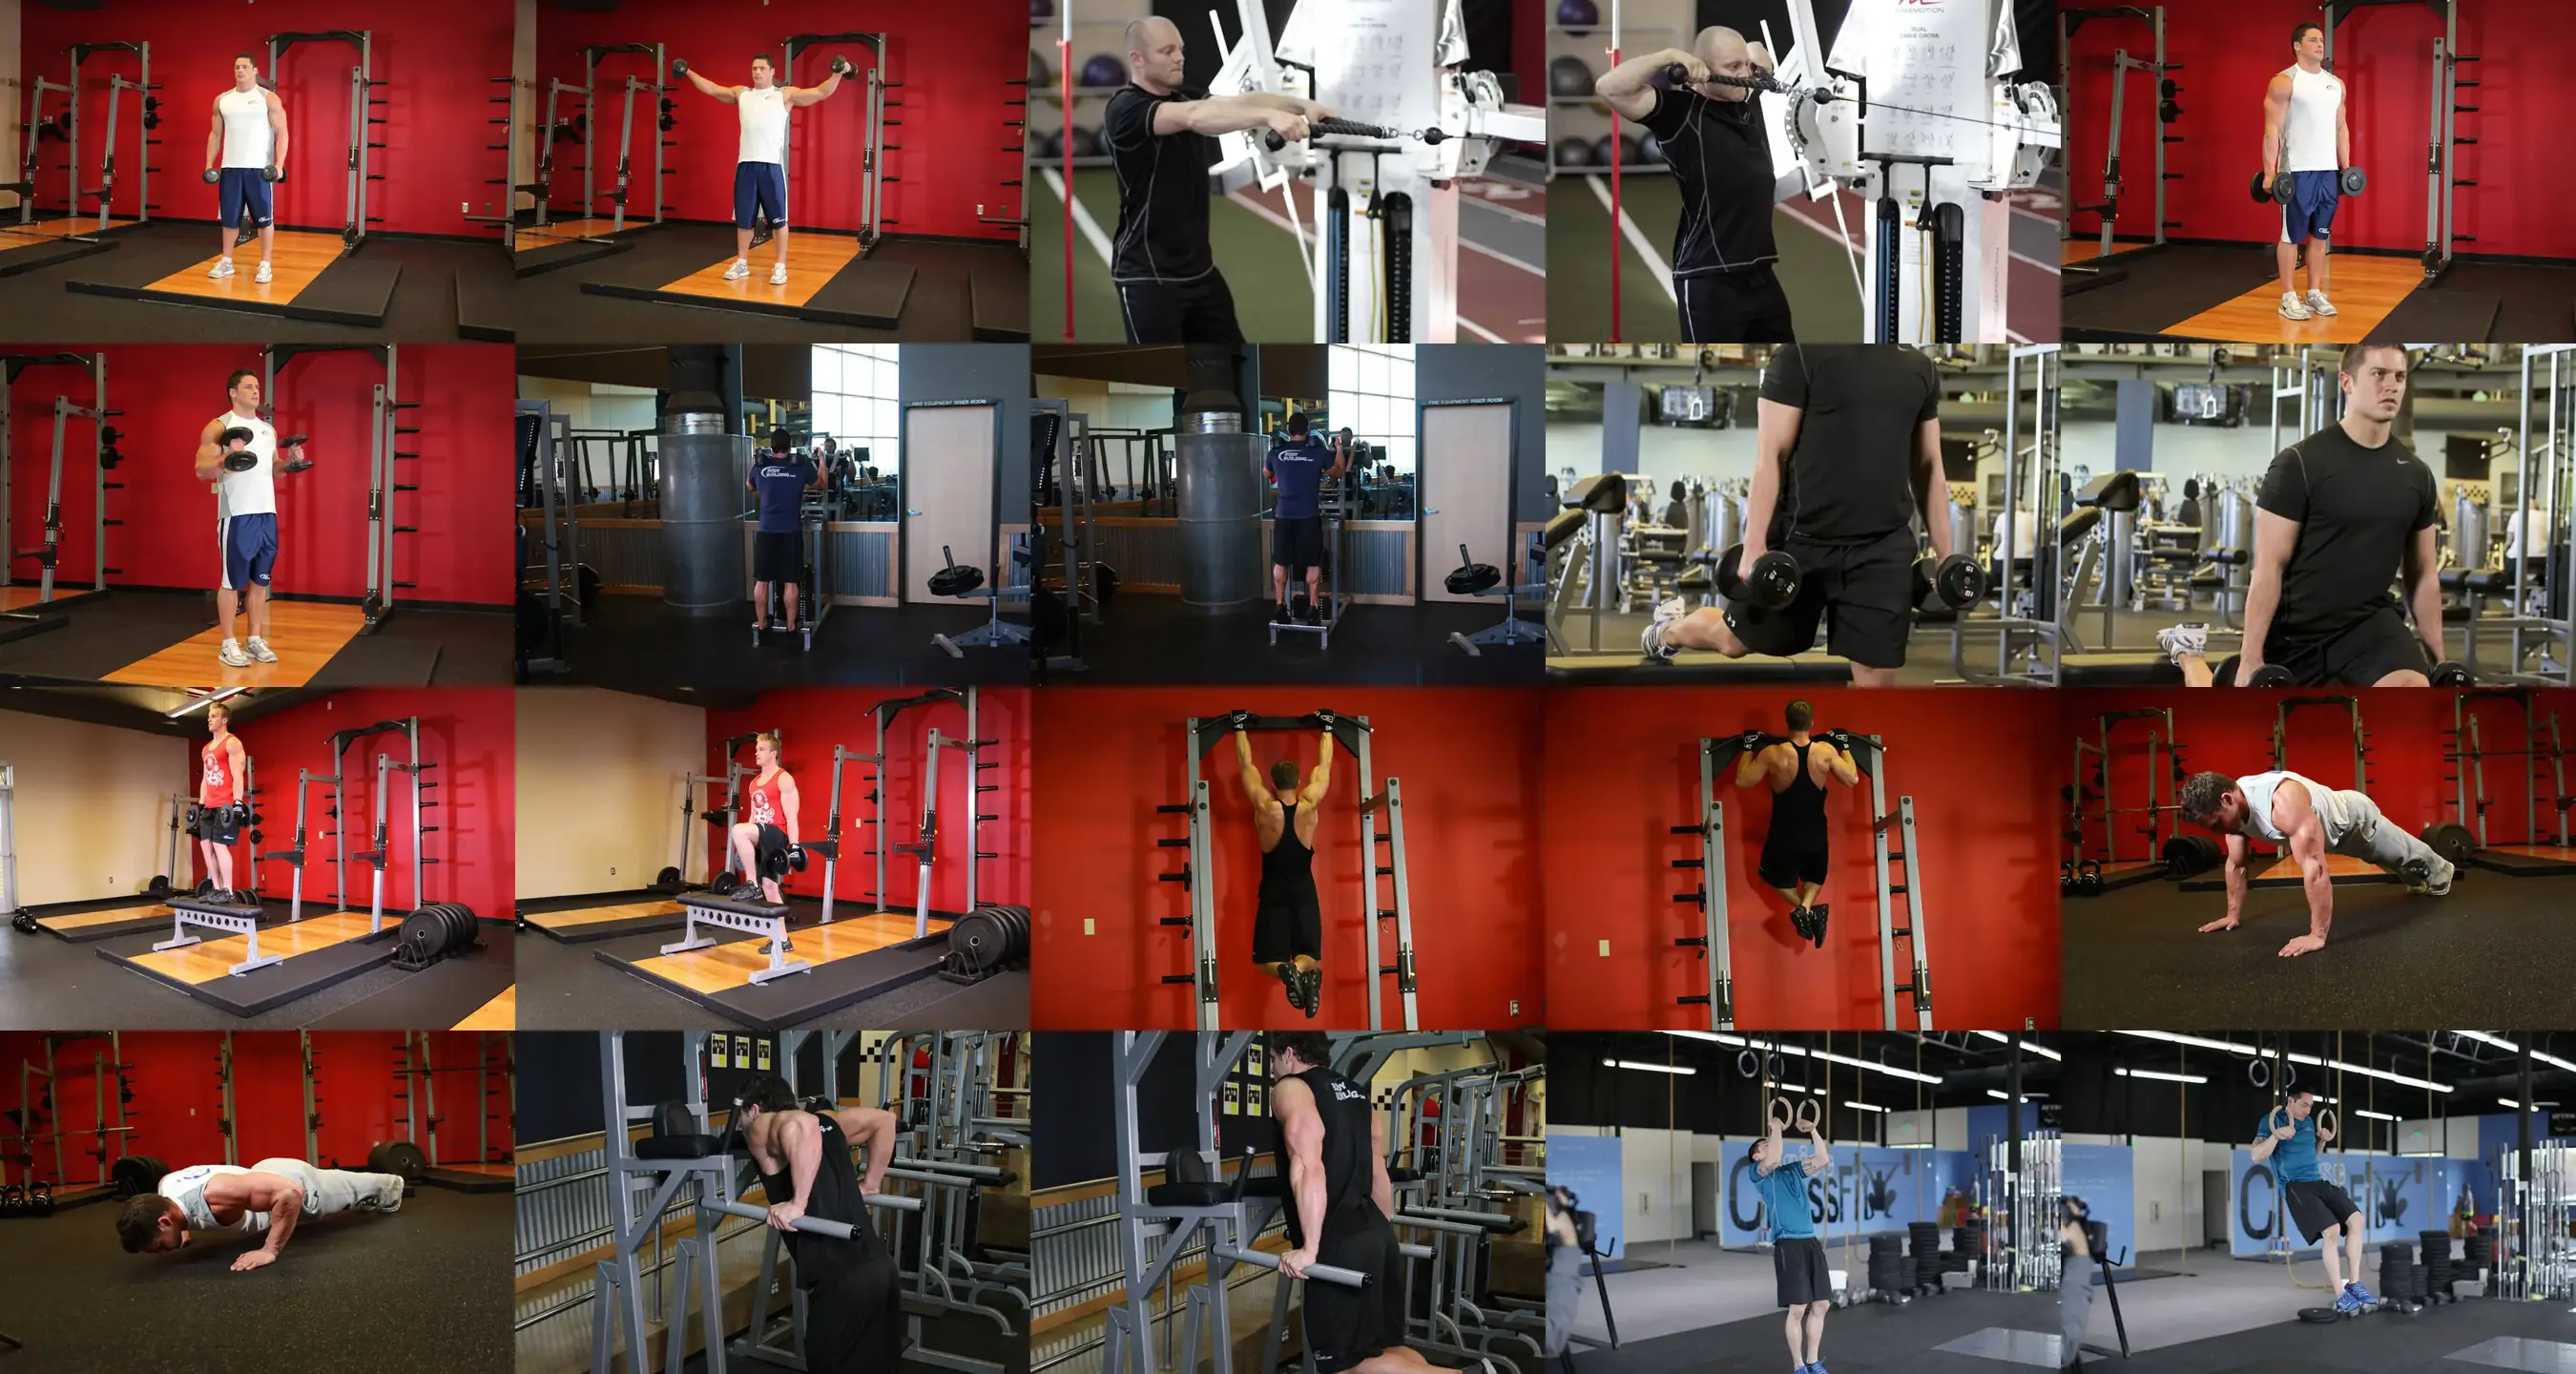
Standing Calf Raise
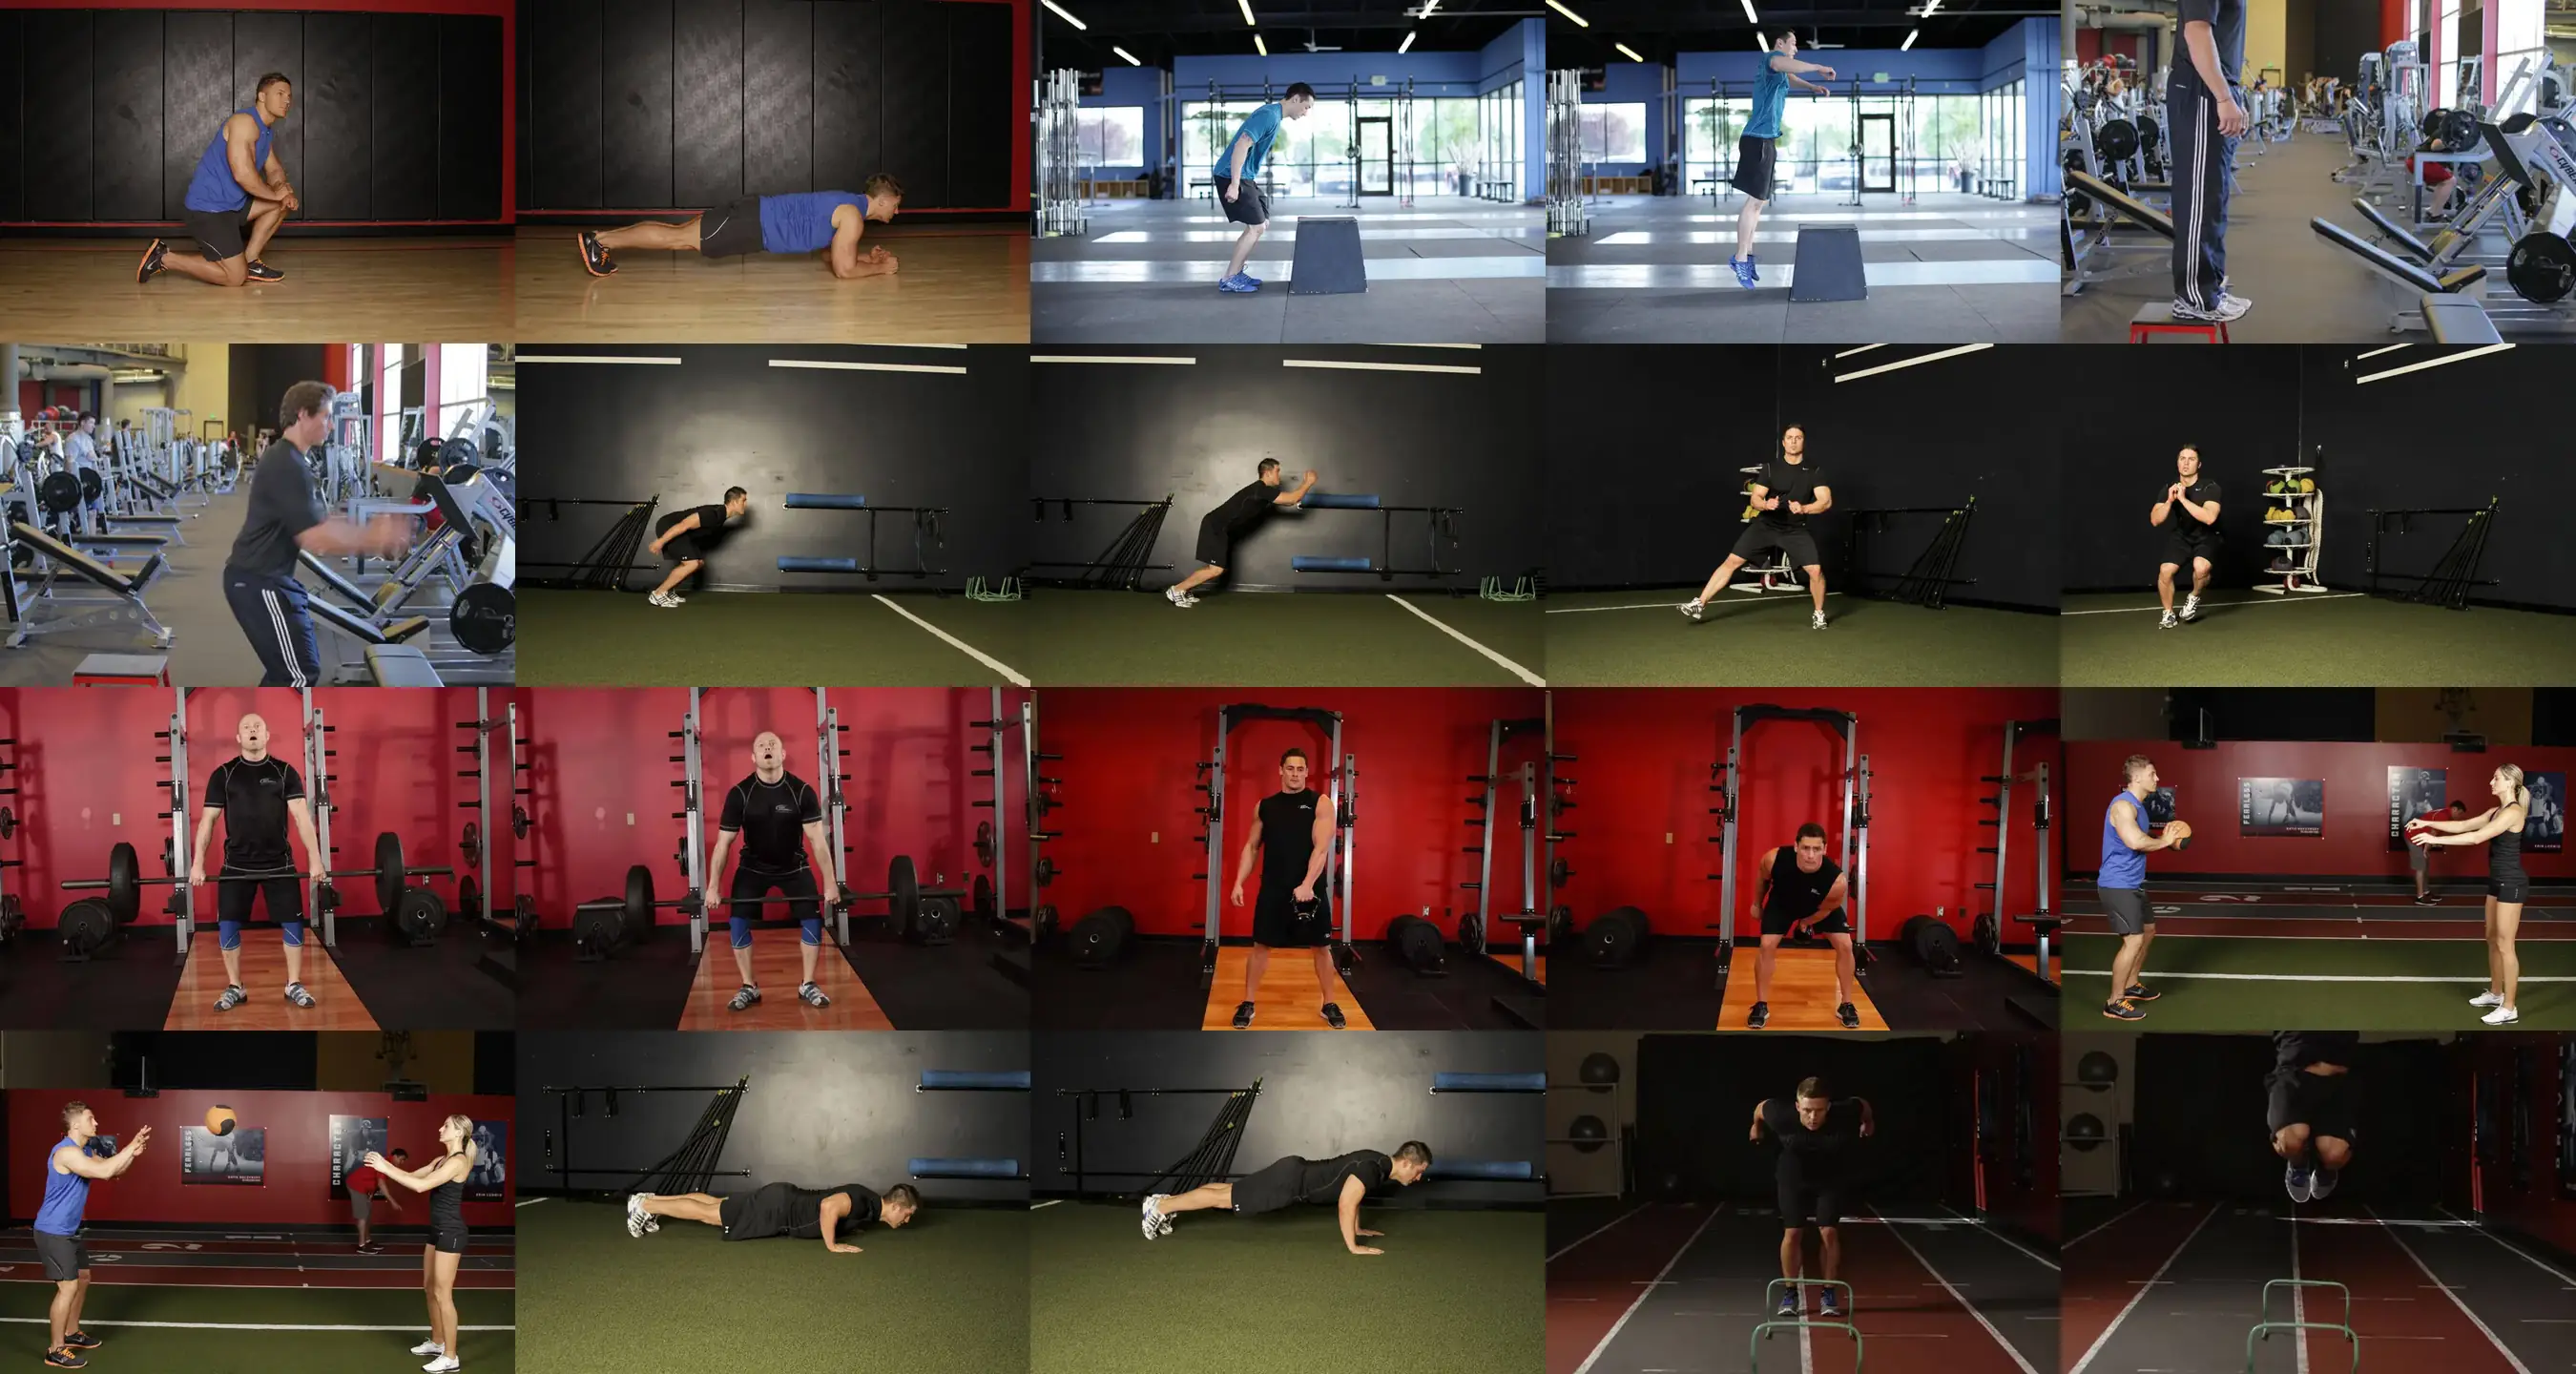
Hurdle Hops
Barbell Seated Calf Raise
Leg Press Calf Press
Donkey Calf Raise
Standing Dumbbell Calf Raise
Depth Jump